

Overview
This guide provides step-by-step instructions for replacing the logo indicator light on your F2 Ultra/F2 Ultra (single) in the event that it fails to illuminate.
Safety & preparation
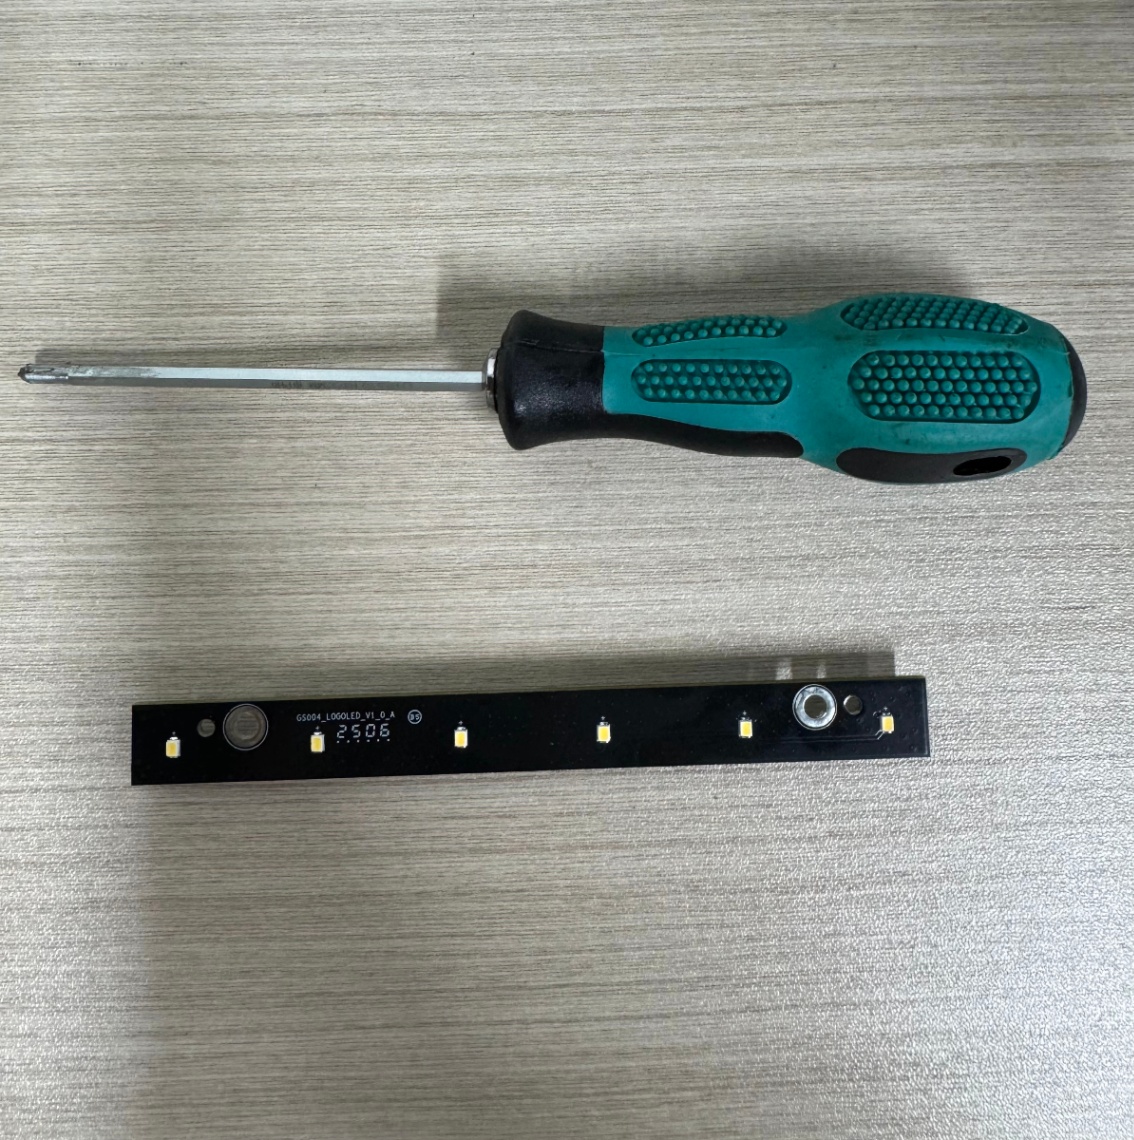
Required tools & parts
- 2.5mm Phillips screwdriver (Included in your package)
- New replacement Logo Indicator Board*
*To request a replacement, please contact xTool Customer Service by submitting a request in the Help Ticket section below. Select Buy after-sales materials under the After-sales Issue tab to place your replacement order.
Crucial safety steps
Before starting the replacement, you must prepare the machine to ensure your safety and prevent damage.
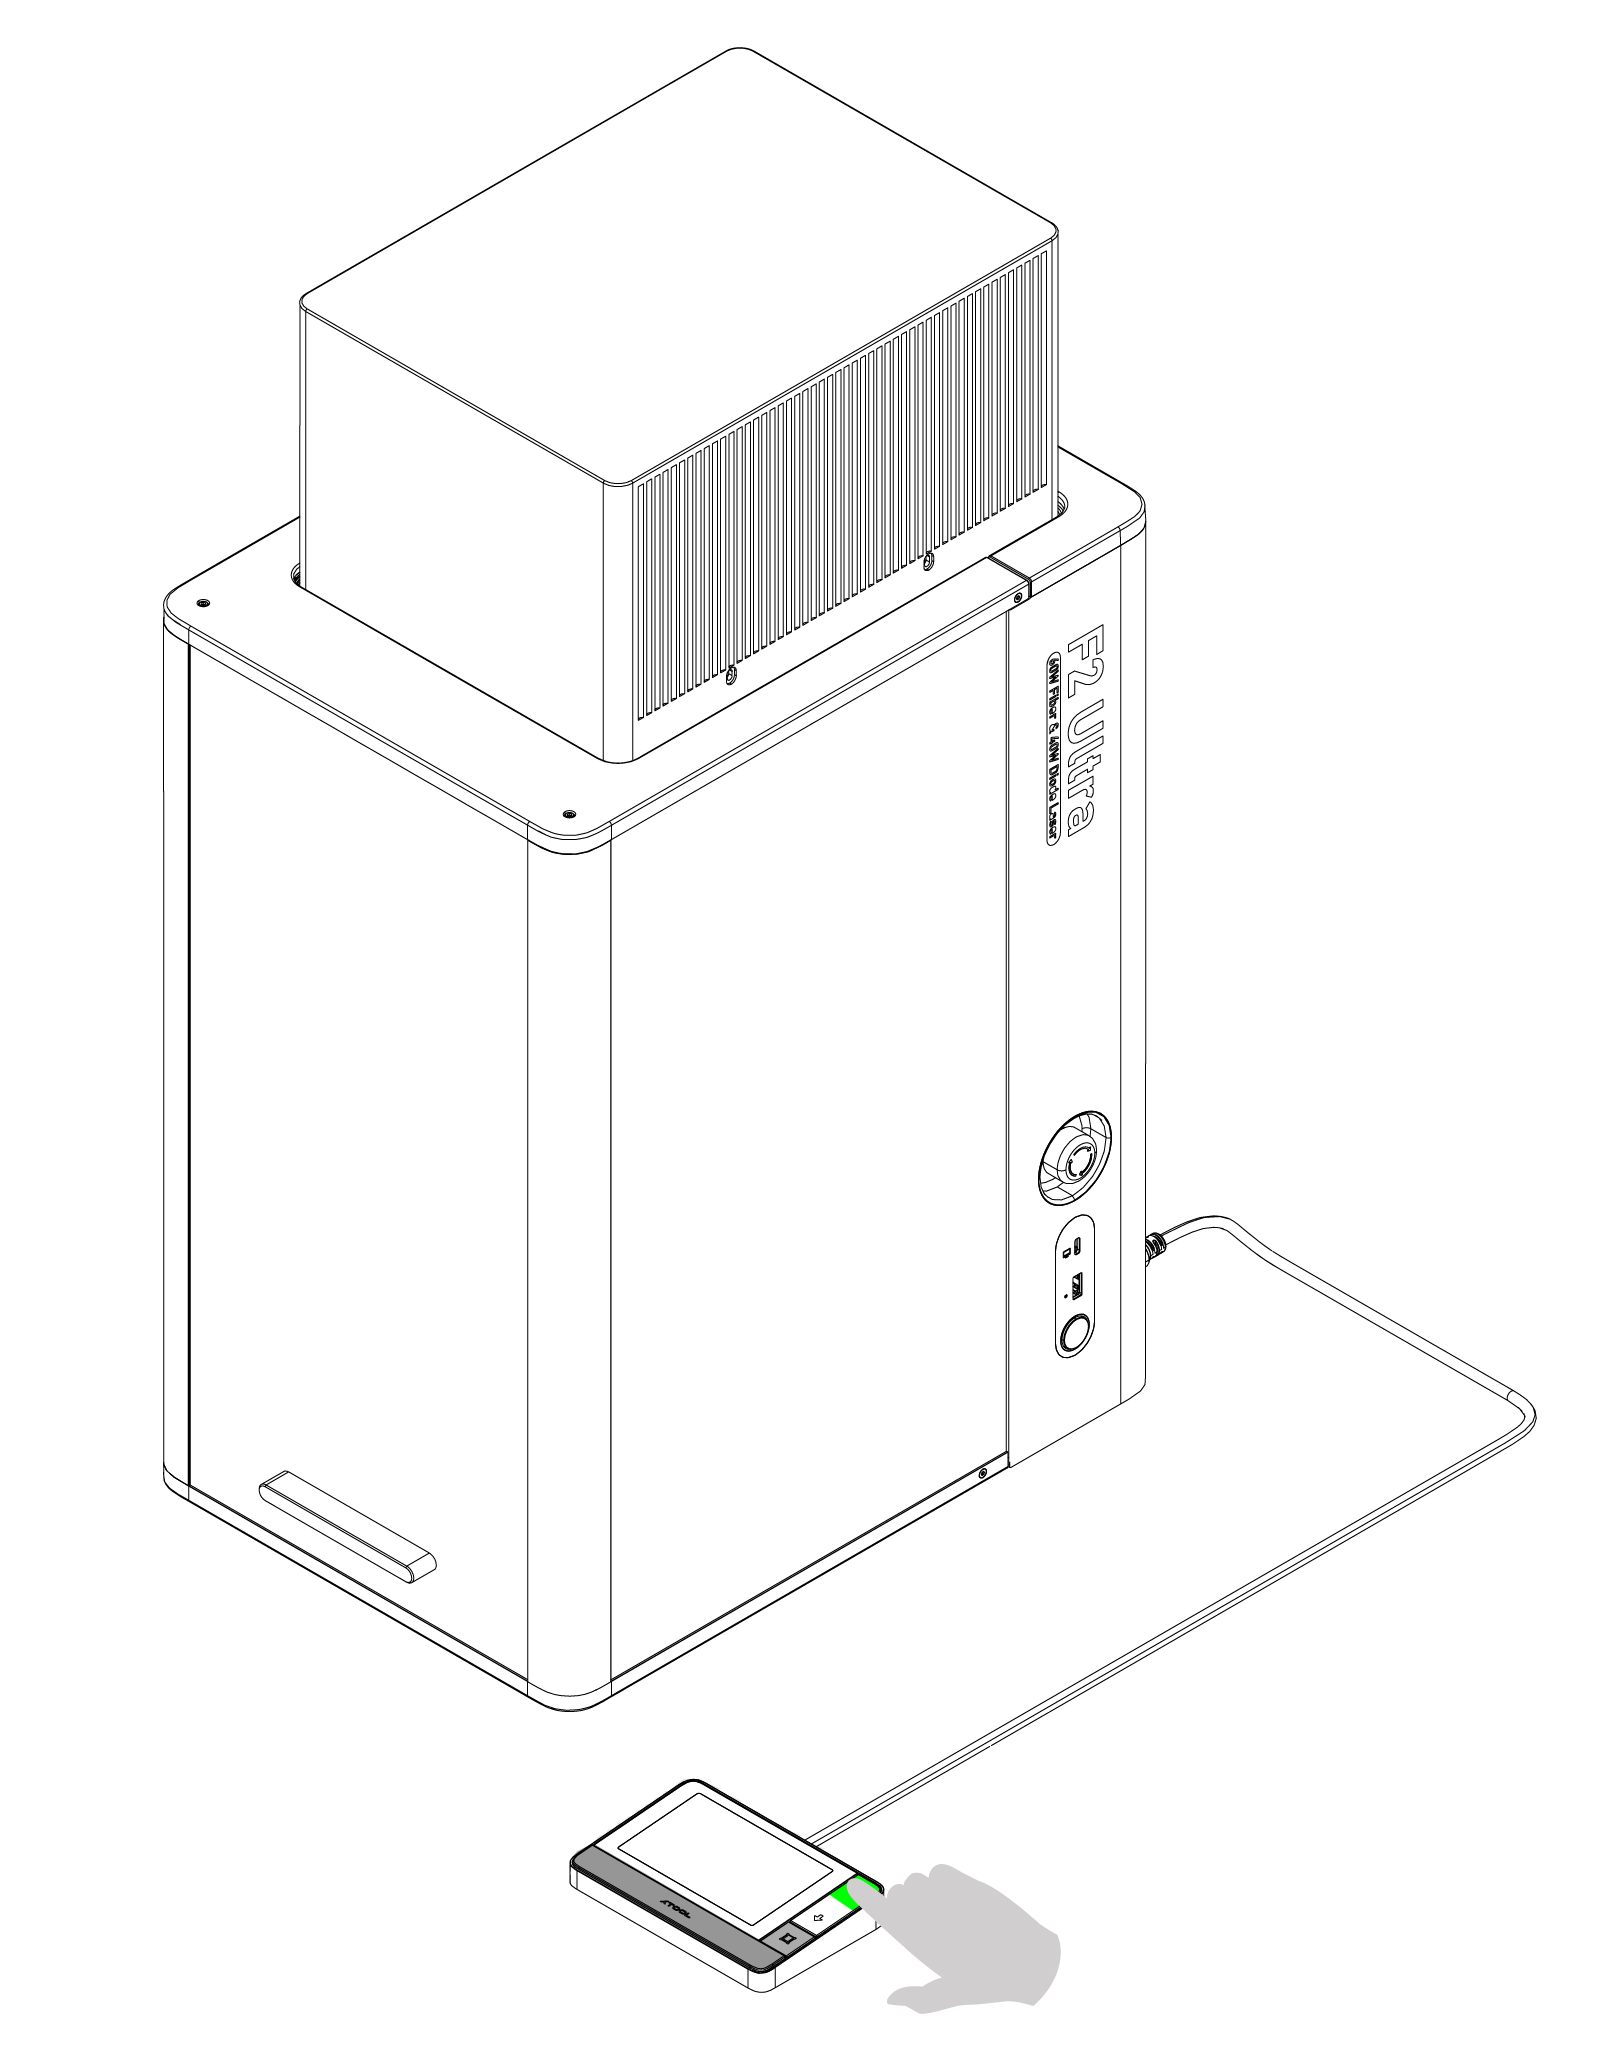
- Raise the Laser Module: Tap the "Up" button on the touchscreen controller to raise the laser module to its highest possible position. See the image below.
- Power Off the Machine: Turn off the power switch and unplug the machine from the power outlet.
- Remove the Safety Key: For added safety, remove the red safety key from the back of the machine.
Replacement procedure
Step 1: Disconnect & remove the failed board
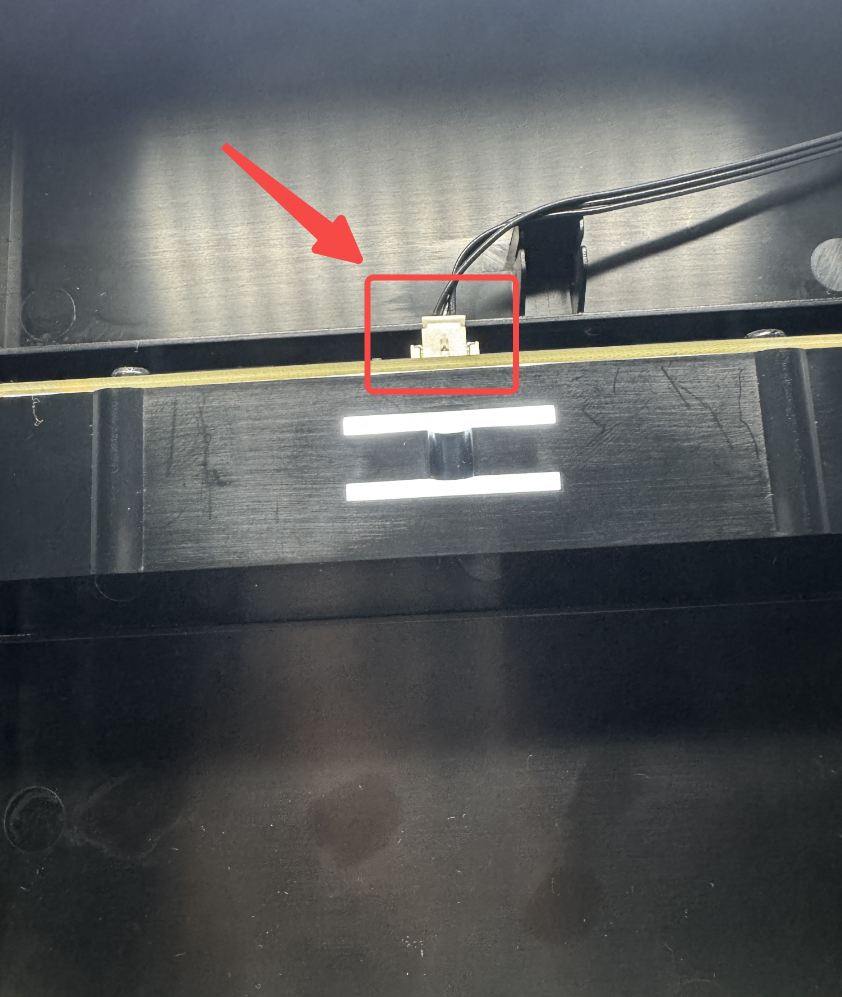
- Carefully disconnect the small connection cable attached to the logo light indicator board.
- Using the 2.5mm Phillips screwdriver, remove the two screws that secure the entire light indicator board to the machine.
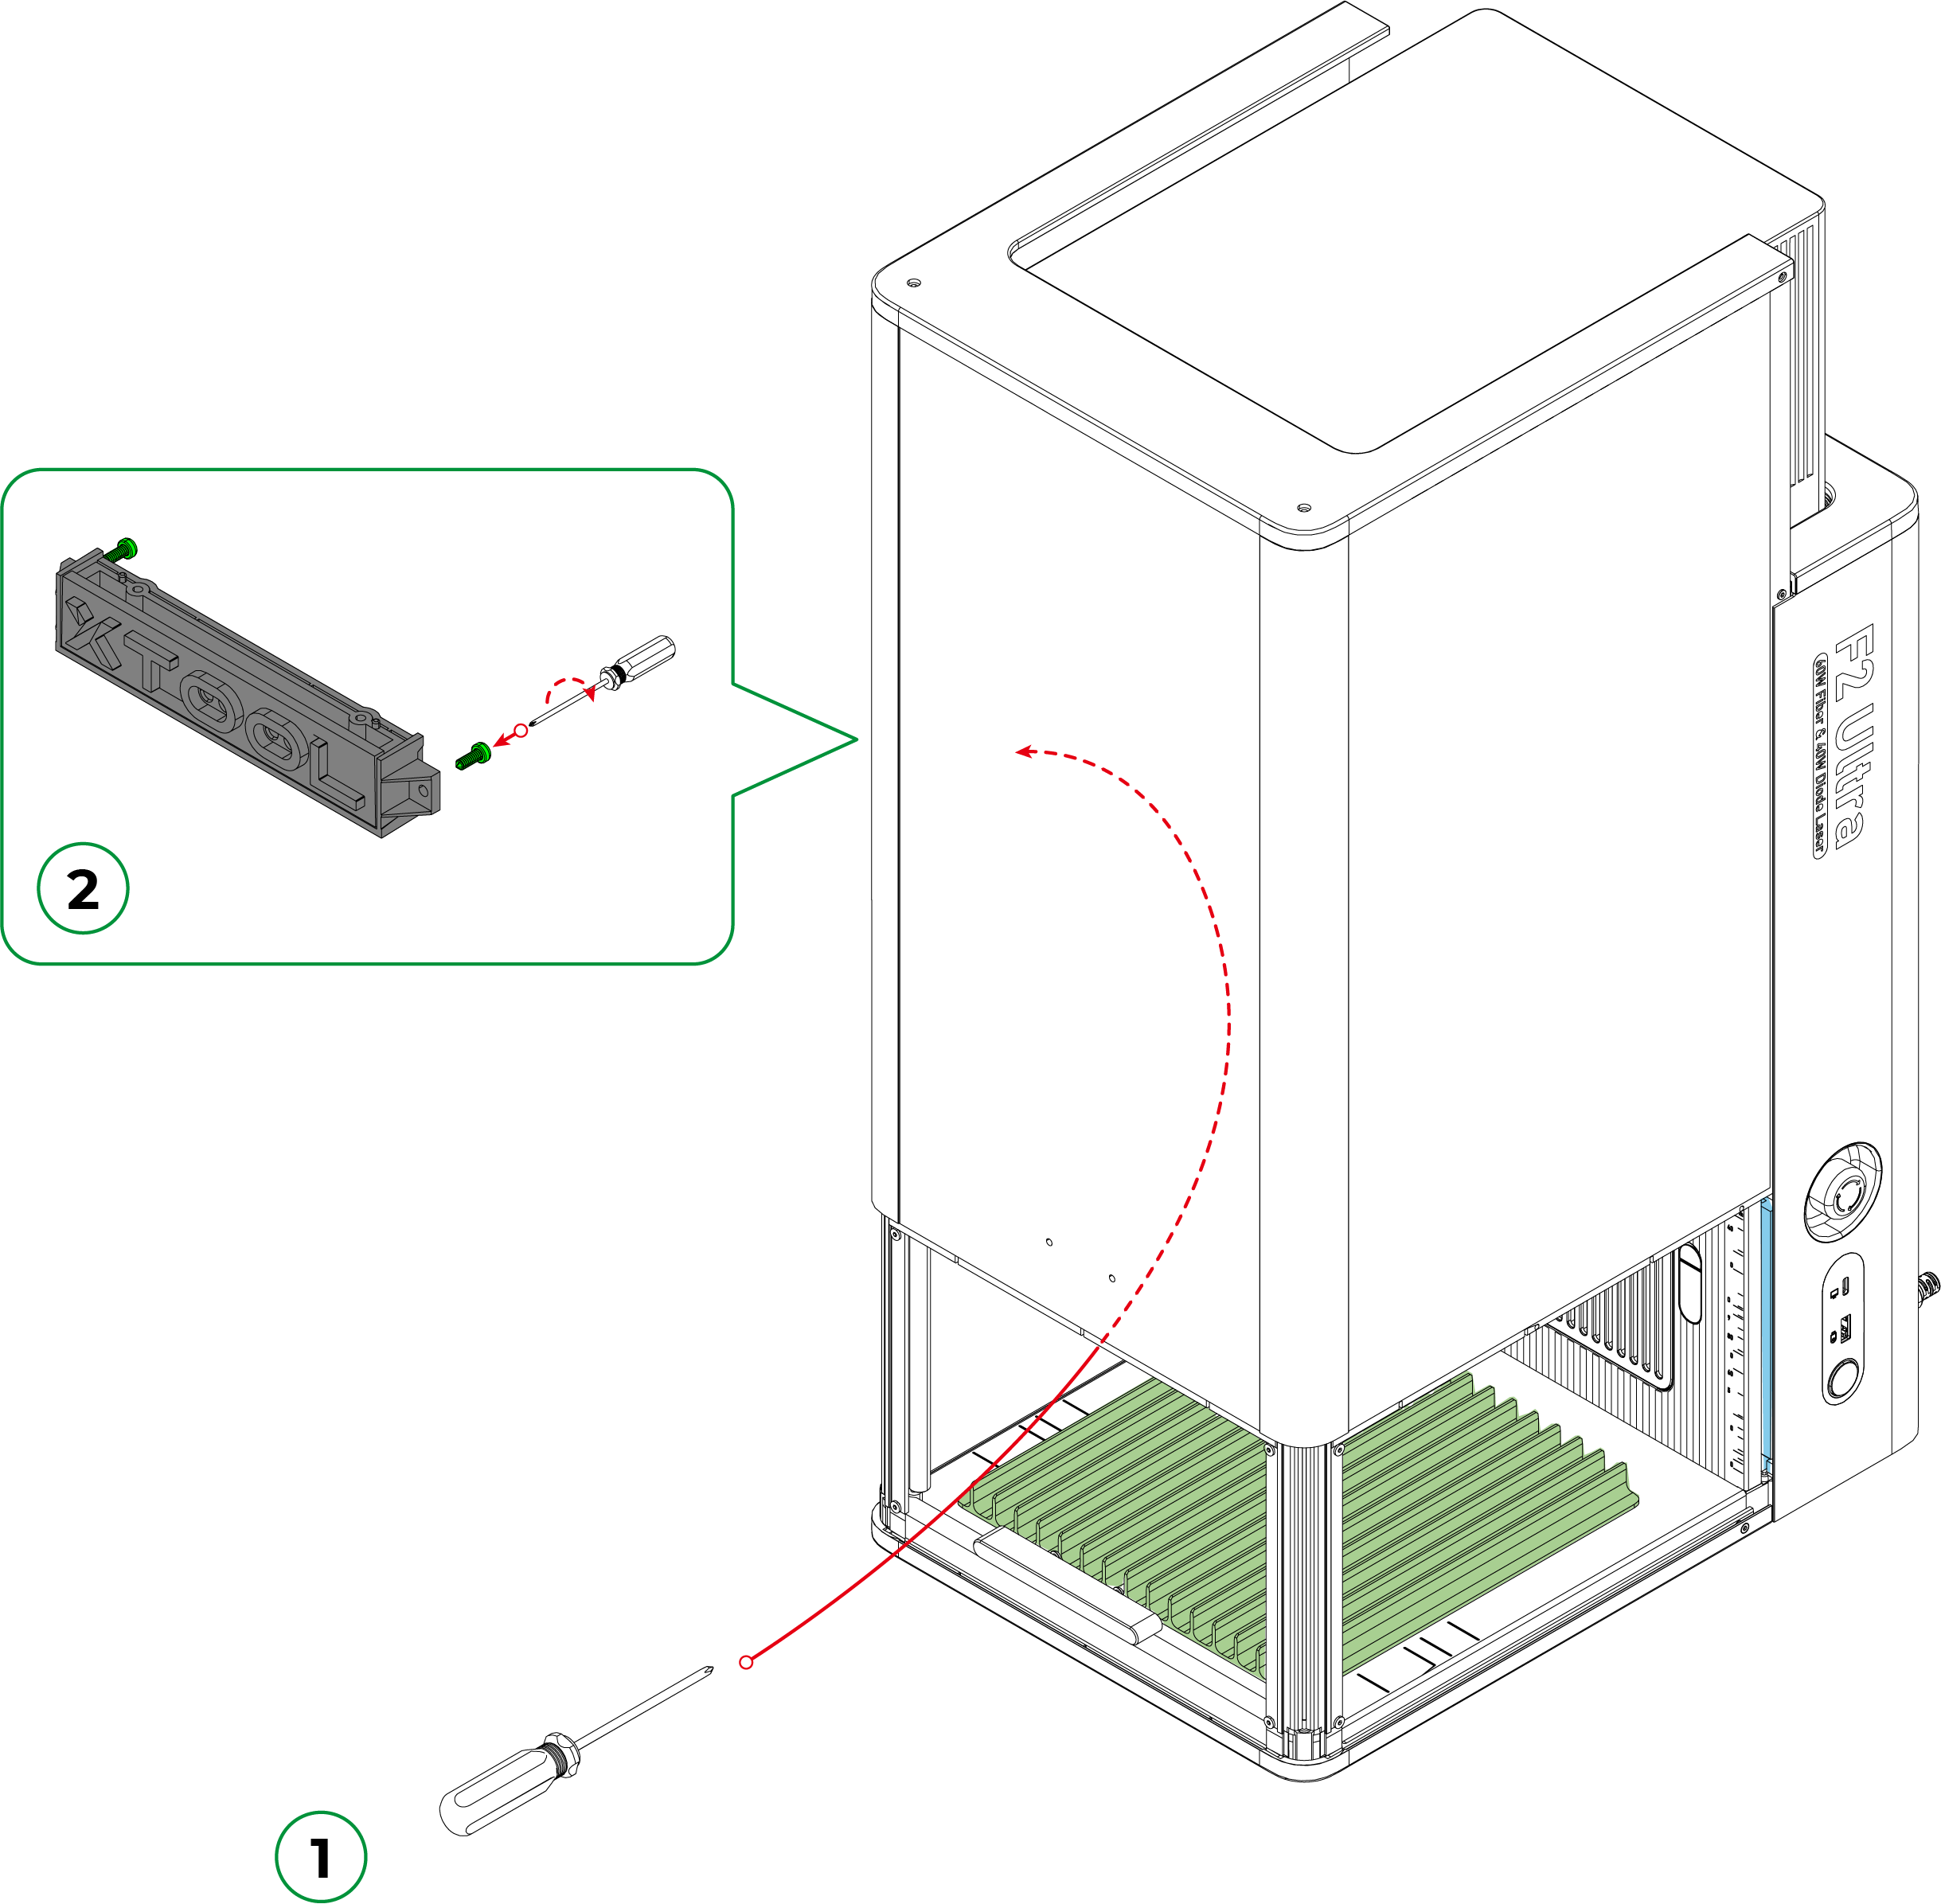
- Gently detach the failed board and its mounting fixture from the machine.
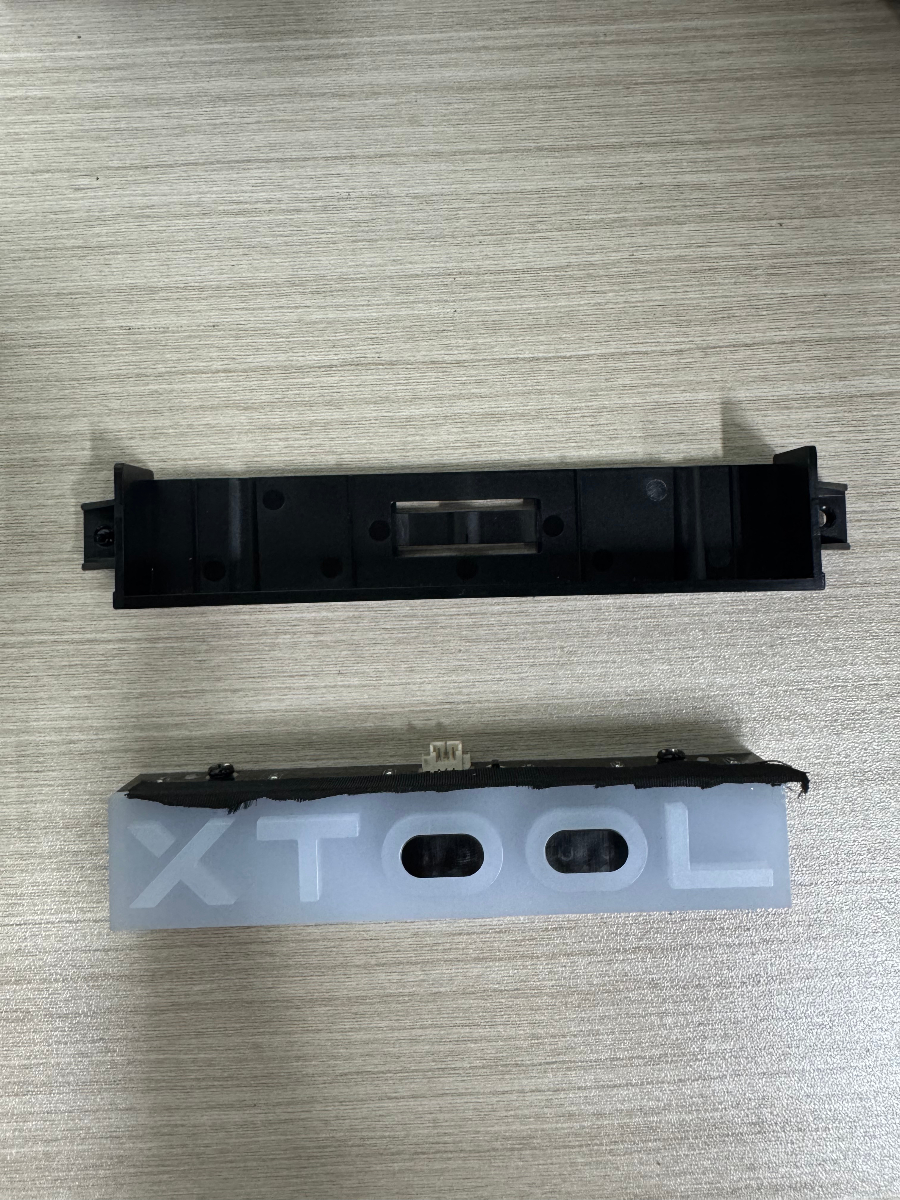
Step 2: Assemble the new board
- Place the assembly you just removed on a clean, flat surface.
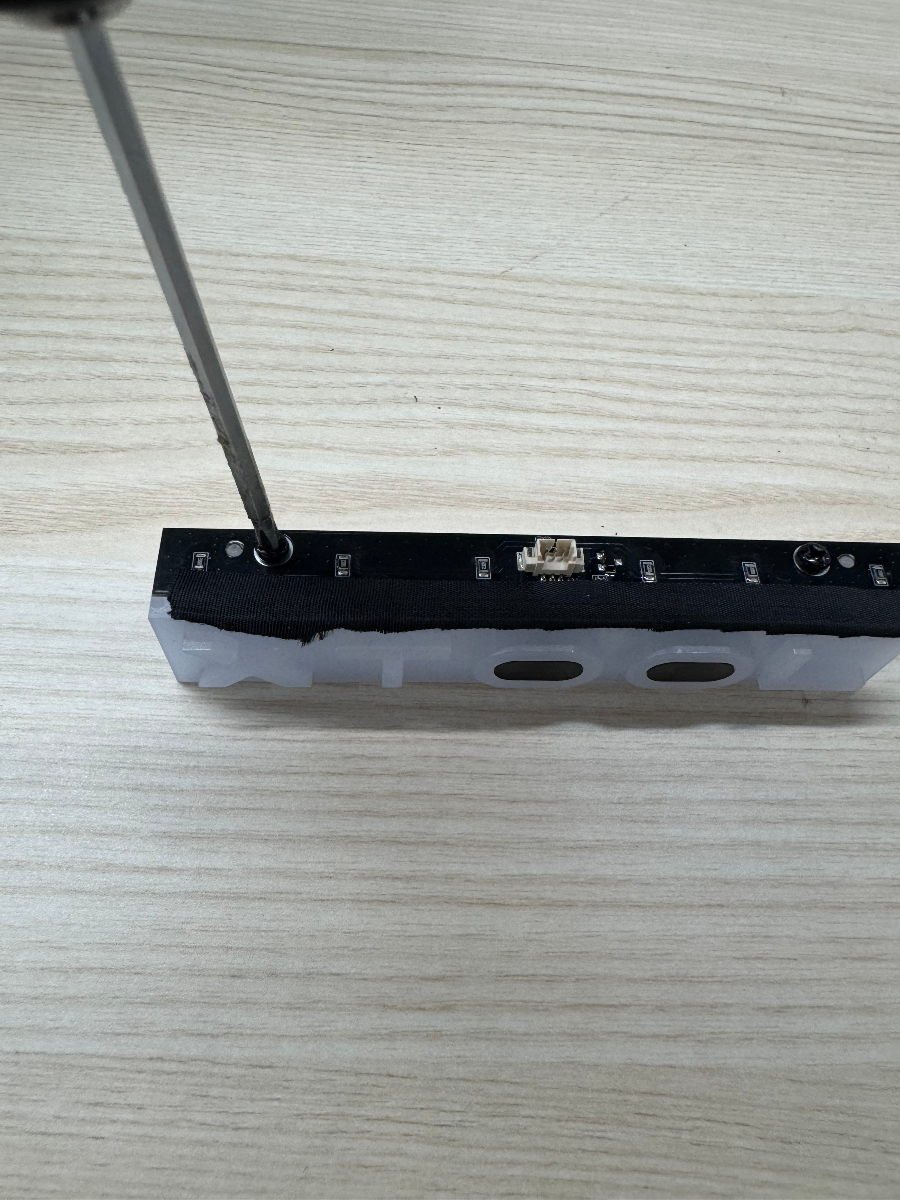
- Use the screwdriver to remove the two smaller screws that hold the failed logo light board itself to the mounting fixture. Dispose of the failed logo light board, but retain the two screws for replacement.
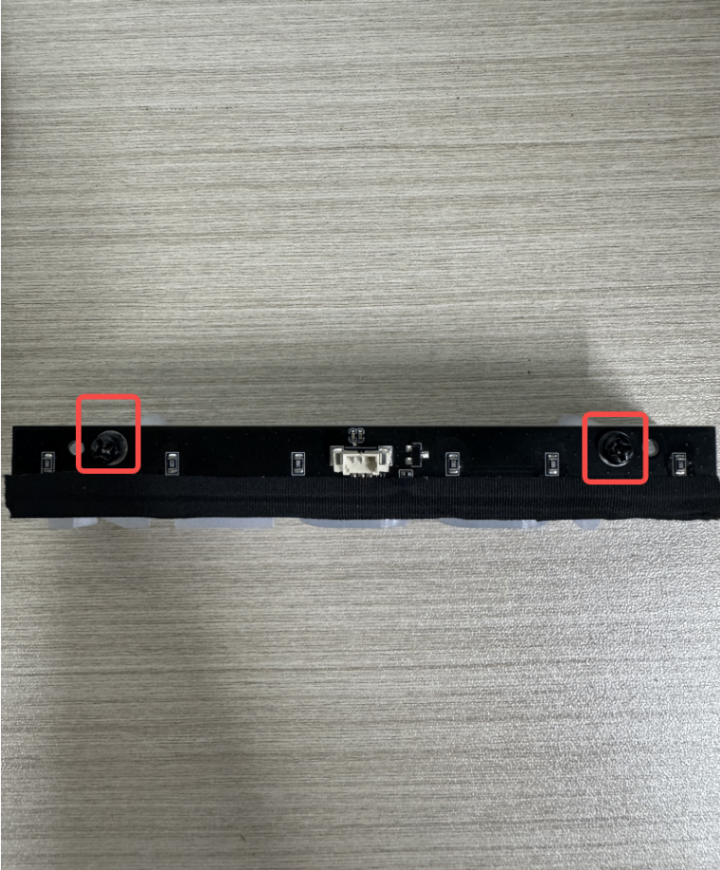
- Place the new logo light board onto the mounting fixture and secure it using the same two screws.
Step 3: Reinstall the new assembly
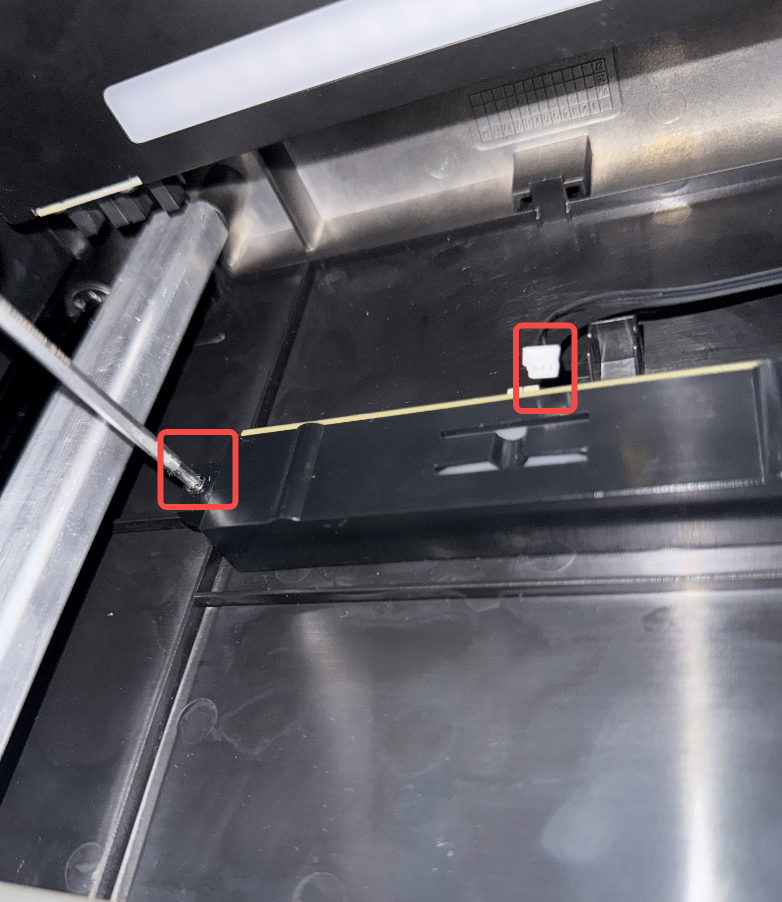
- Position the reassembled logo light assembly (with the new board) and its mounting fixture back onto the machine.
- Use the two main fixing screws to secure the assembly firmly in place.
- Reconnect the connection cable to its port.
Final steps
- Re-insert the safety key into the back of the machine.
- Plug the power cord back in and turn on the machine.
- Verify that the new logo indicator light illuminates correctly. If the light works, the replacement is complete. If it still does not light up, please contact Mechblock Customer Service for further assistance.