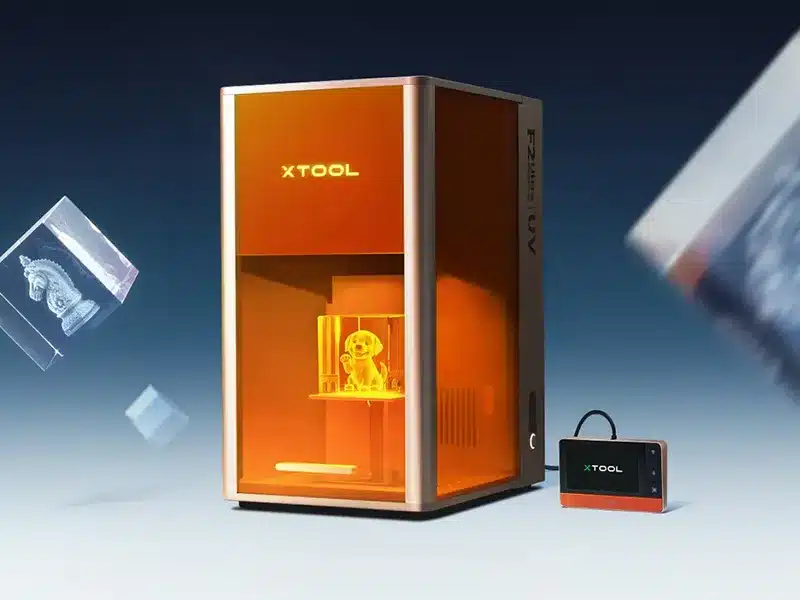

Overview
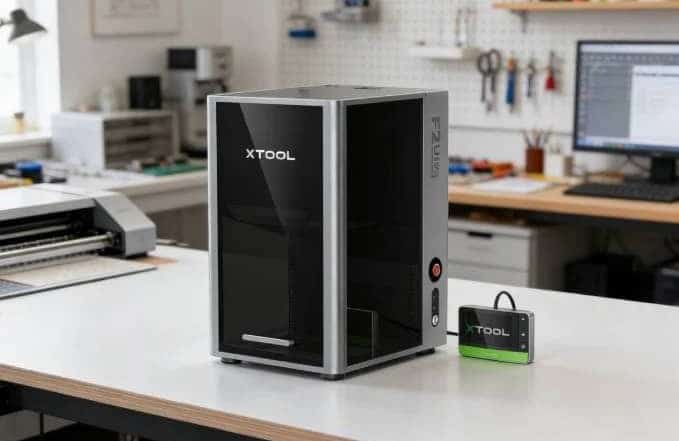
When xTool F2's logo indicator becomes dim or fails to light up, it needs to be replaced. This guide shows you how to replace the logo indicator board.
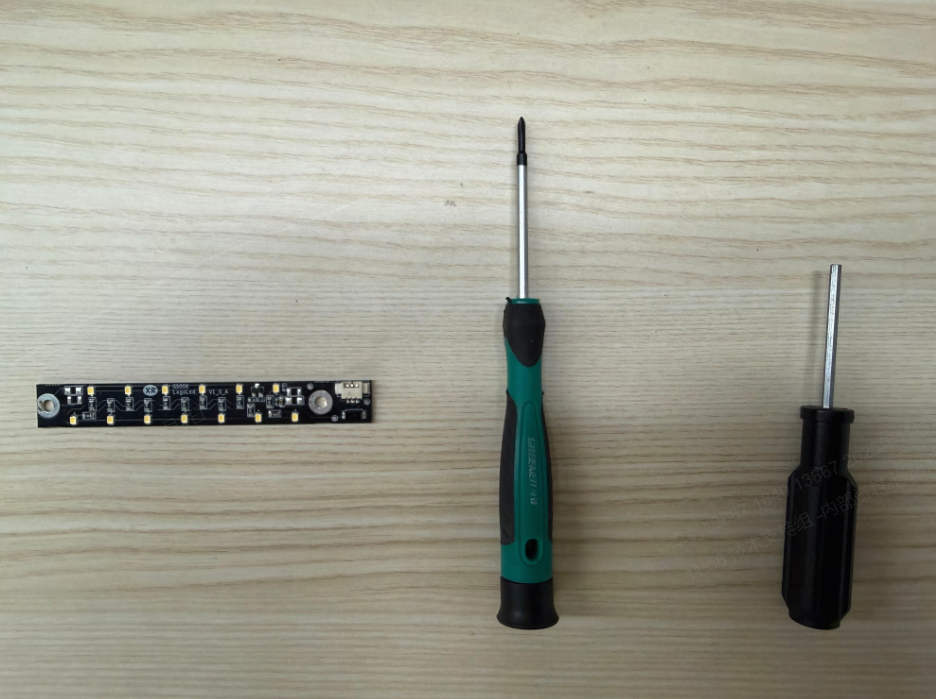
Tools required
- A 2 mm Phillips screwdriver
- A 2.5 mm hex key
- New logo indicator board
Replacement procedure
1. Remove F2's laser module cover
1) Start xTool F2. Turn the knob to raise the laser module until it reaches the maximum height.
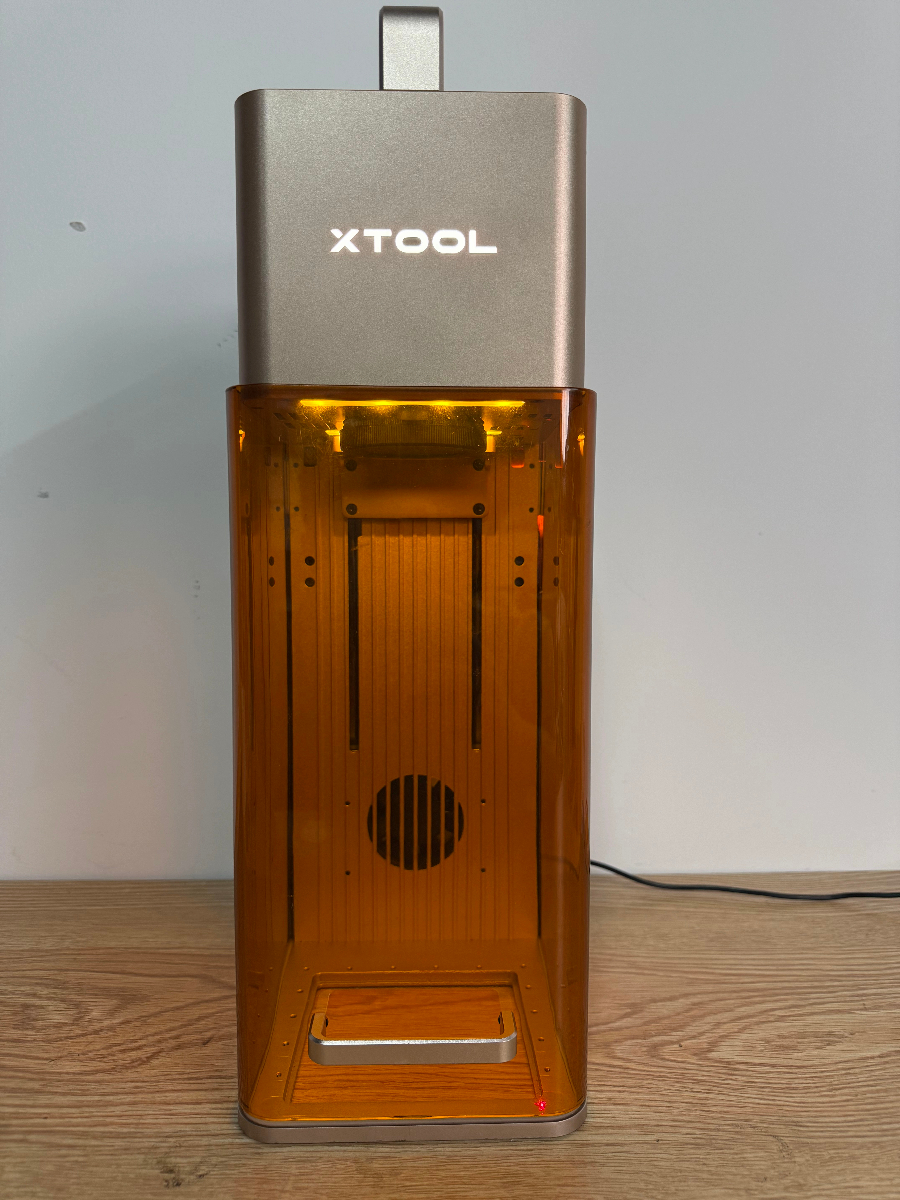
2) Disconnect the power supply.
3) Loosen the screws securing the laser module cover.
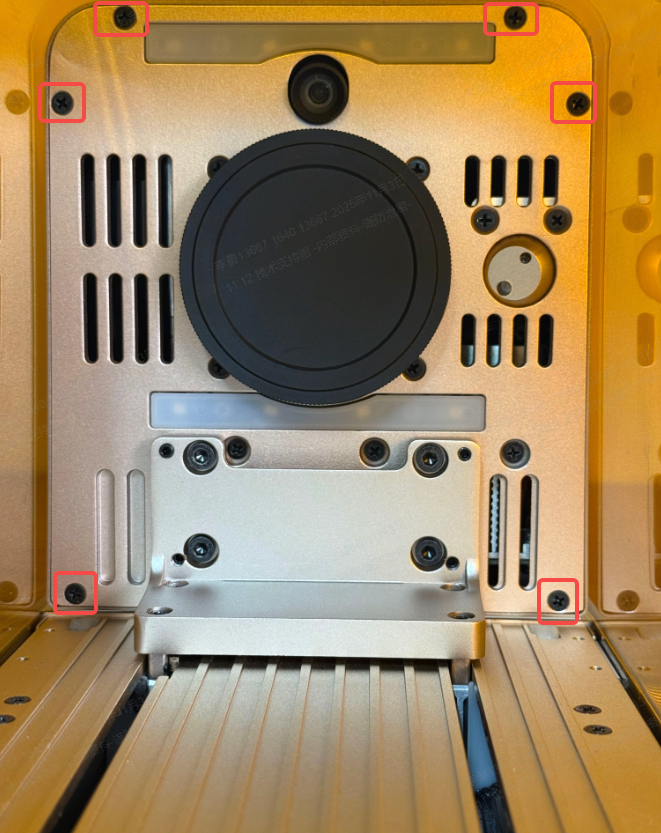
4) Remove the laser module cover.
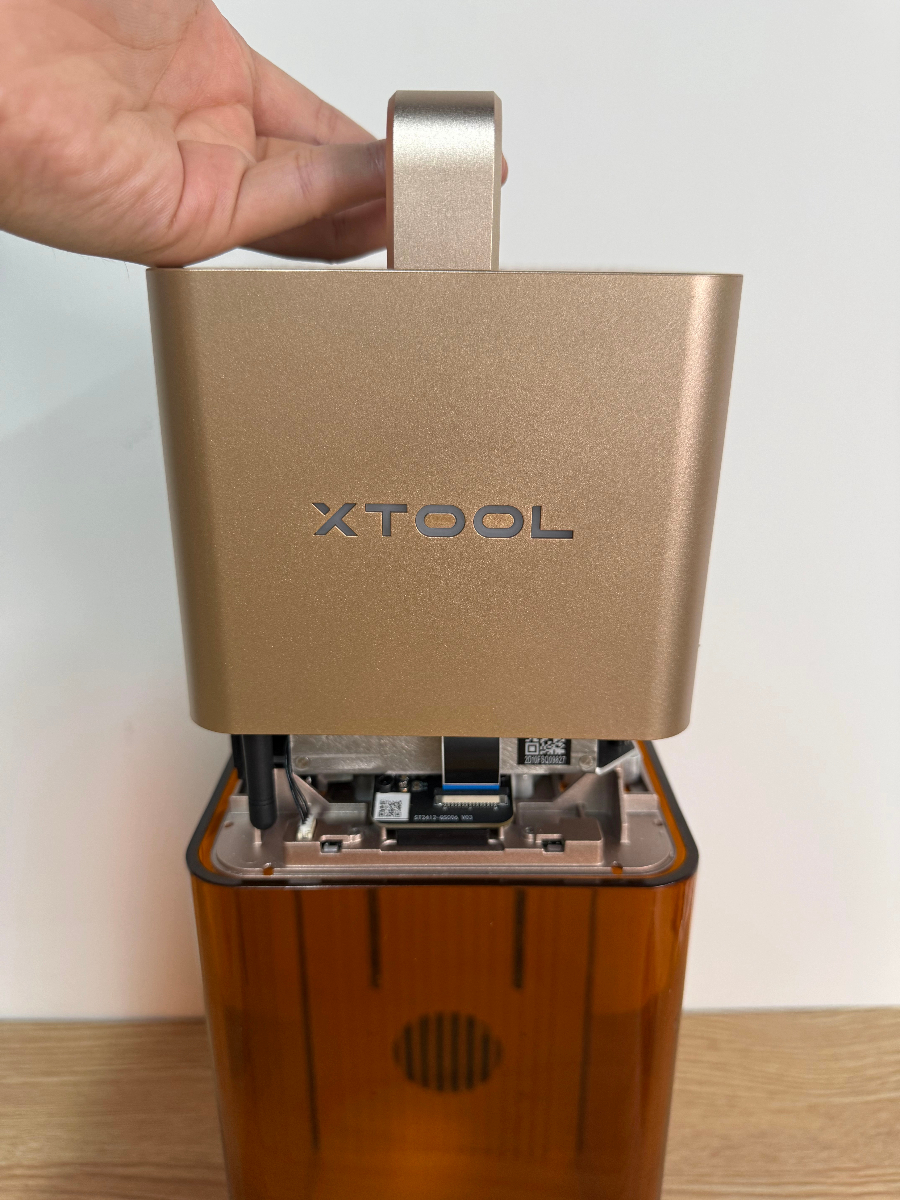
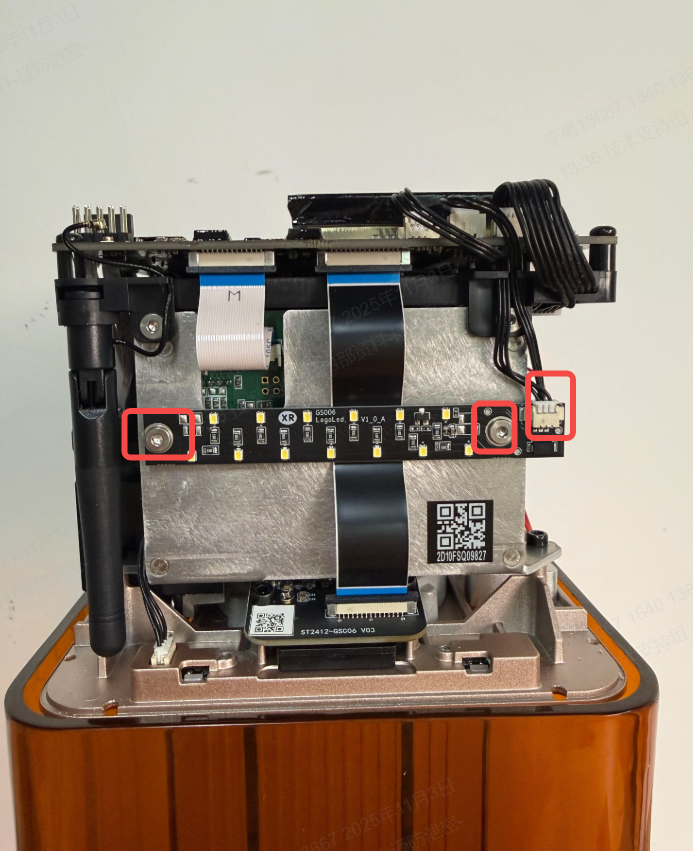
2. Remove the used logo indicator board
Loosen the two screws and disconnect the connection cable. Remove the used logo indicator board.
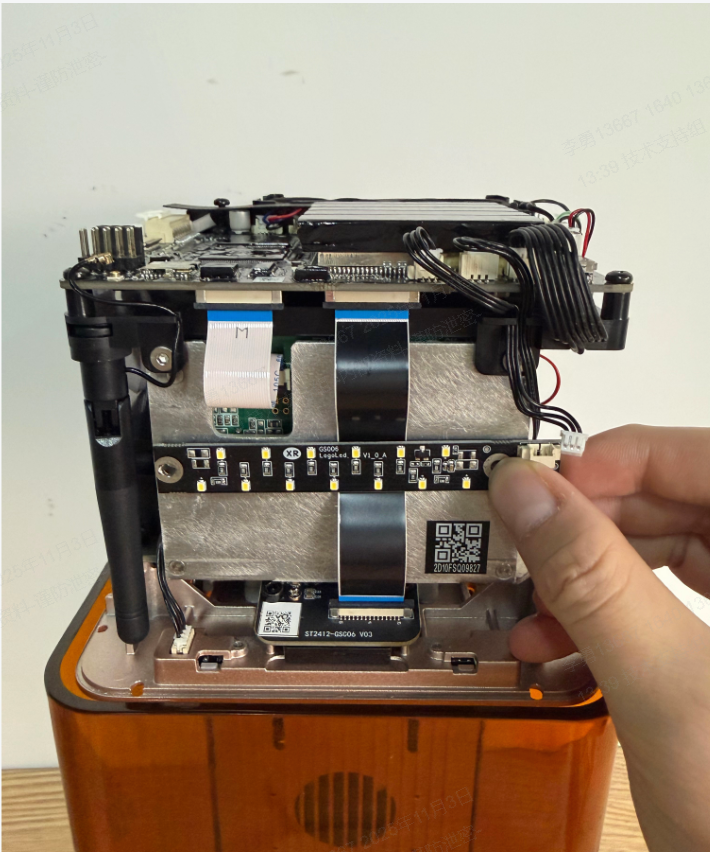
3. Install the new logo indicator board
1) Secure the new board with the two screws and connect the connection cable.
2) Install the laser module cover back and install the securing screws.