
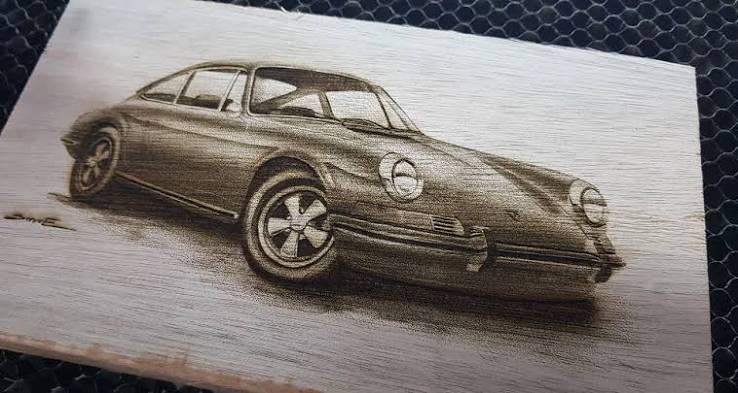
How to Prepare a Photo for Laser Engraving
A great photo for laser engraving can turn an ordinary piece of wood, slate, glass, leather, or metal into a personalized masterpiece. However, achieving crisp, detailed results is not as simple as importing an image and pressing the start button. Every successful engraving starts with proper photo preparation.
Whether you're engraving family portraits, pet photos, wedding memories, or personalized gifts, preparing your image correctly is the key to professional-looking results.
At Mechblock, we help makers, businesses, and engraving professionals across India choose the right laser engraving machines and learn the best techniques to maximize engraving quality.
In this guide, we'll explain exactly how to prepare a photo for laser engraving, the best software to use, recommended image settings, and tips for engraving on different materials.
Why Preparing a Photo for Laser Engraving Matters
Unlike ink printing, laser engraving works by burning or marking the material. The laser interprets brightness levels within an image to determine how much energy should be applied.
If your photo has:
- Low resolution
- Poor contrast
- Blurry details
- Heavy shadows
- Busy backgrounds
the engraving will often look dull, muddy, or lose important facial details.
Preparing your image properly ensures:
- Better facial detail
- Higher engraving contrast
- Cleaner edges
- Faster engraving
- Better results on wood, slate, leather, acrylic, and metal
Best Software to Prepare a Photo for Laser Engraving
There are many tools available for image preparation. Here are some of the most popular options.
1. xTool Creative Space (XCS)
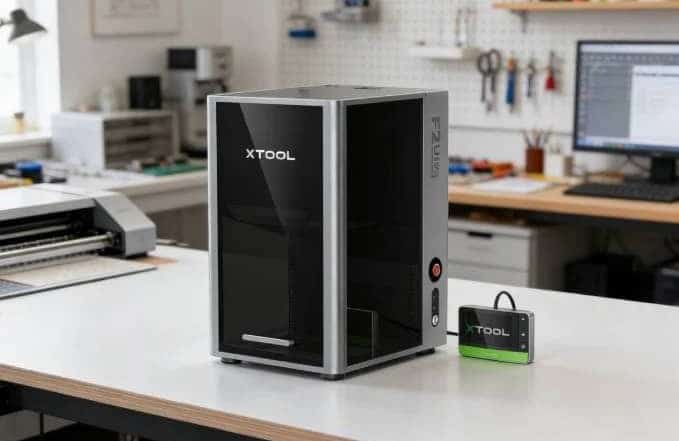
If you're using an xTool laser machine, XCS provides everything needed for basic photo preparation.
Features include:
- Crop images
- Remove backgrounds
- Convert to grayscale
- Apply image filters
- Resize artwork
- Preview engraving
It is beginner-friendly and integrates directly with xTool laser engravers.
2. Adobe Photoshop
Photoshop is the industry standard for professional image editing.
Best for:
- Advanced contrast adjustments
- Sharpening
- Selective editing
- Noise reduction
- Professional photo restoration
Although powerful, it has a steeper learning curve than beginner software.
3. Canva
Canva is ideal for beginners who need simple editing.
You can easily:
- Crop photos
- Resize images
- Remove backgrounds (Pro)
- Add text
- Improve brightness
It's a great option if you don't have experience with Photoshop.
4. Imag-R
Imag-R is a web-based image preparation tool designed specifically for laser engraving.
It allows users to:
- Optimize images
- Resize automatically
- Prepare grayscale images
- Generate engraving-ready artwork quickly
Step 1: Choose a High-Quality Photo

The quality of your original image determines the quality of your engraving.
For best results:
- Minimum 300 DPI
- Ideal 600 DPI or higher
- Sharp focus
- Even lighting
- Good contrast
- Minimal image noise
Portraits taken in natural daylight generally produce the best engraving results.
Avoid:
- Blurry photos
- Screenshots
- Low-resolution social media images
- Dark selfies
Step 2: Remove Unnecessary Background Elements
 Busy backgrounds often confuse the engraving process.
Before engraving:
- Remove clutter
- Keep attention on the main subject
- Remove unwanted objects
- Simplify the composition
For portraits, a clean background dramatically improves engraving quality.
Step 3: Convert the Image to Grayscale

This is one of the most important steps when preparing a photo for laser engraving.
Laser engravers interpret shades of gray instead of color.
Generally:
- Black = deeper engraving
- Dark gray = medium engraving
- Light gray = shallow engraving
- White = no engraving
Most laser software includes a grayscale conversion option.
Step 4: Adjust Brightness, Contrast, and Sharpness

Simply converting an image to grayscale is rarely enough.
Fine-tune the following:
Contrast
Increase contrast so facial features become more visible.
Higher contrast creates:
- Better shadows
- Better highlights
- Clearer engraving depth
Brightness
Adjust brightness until important details become visible without washing out the image.
Avoid images that are:
- Too dark
- Overexposed
Sharpness
Sharpen carefully to improve:
- Hair details
- Eyes
- Clothing texture
- Facial definition
Over-sharpening can introduce unwanted noise, so apply it in moderation.
Step 5: Resize Your Image Correctly

Never stretch a small image.
Instead:
- Match the image size to the engraving area
- Maintain aspect ratio
- Keep resolution high
Large engravings require larger image files.
Step 6: Set the Correct Laser Engraving Parameters
Once the image is ready, configure your laser settings.
Important parameters include:
Laser Power
Higher power creates deeper engraving.
Too much power can:
- Burn wood
- Melt acrylic
- Damage leather
Speed
Slower speed creates darker engravings.
Higher speed creates lighter engravings.
Finding the right balance between speed and power is essential.Resolution (Lines Per CM / DPI)
Higher resolution captures more detail but increases engraving time.
For photographs, higher line density generally produces smoother results.
Number of Passes
Most photo engravings require only one pass.
Additional passes are usually reserved for deeper engravings on certain materials.
Best Materials for Photo Laser Engraving
Different materials produce different results.
Wood
Wood remains the most popular material for photo engraving.
Popular choices include:
- Birch plywood
- Basswood
- Maple
- Bamboo
Wood produces warm, natural-looking engraved portraits.
Slate
Slate offers excellent contrast and produces stunning black-and-white engravings.
Perfect for:
- Memorial gifts
- Pet portraits
- Decorative coasters
Leather
Leather engraves beautifully for:
- Wallets
- Journals
- Keychains
- Personalized gifts
Vegetable-tanned leather usually gives the best results.
Glass
Glass can produce elegant photo engravings with a frosted appearance.
For best results:
- Use lower power
- Test settings first
- Apply masking if needed
Metal
Laser marking on anodized aluminum and coated metals creates durable, high-contrast images suitable for premium products and corporate gifts.
Common Mistakes to Avoid
Many beginners struggle because of avoidable errors.
Don't:
- Use low-resolution photos
- Ignore grayscale conversion
- Over-sharpen images
- Use incorrect laser settings
- Skip material testing
- Engrave without previewing the image
A small test engraving can save both time and material.
Tips for Better Photo Engraving Results
For professional-quality engravings:
- Use images with strong lighting.
- Increase contrast before engraving.
- Keep backgrounds simple.
- Preview the image at full size.
- Run a test engraving on scrap material.
- Clean the lens and work surface before starting.
These small steps can significantly improve the final result.
Laser Engraving Machines Available at Mechblock
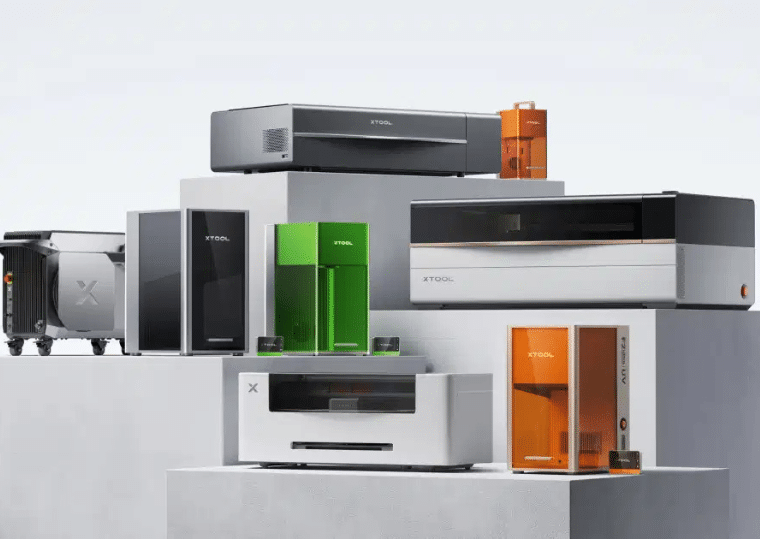
At Mechblock, we offer a wide range of professional laser engraving machines for hobbyists, makers, businesses, and industrial users across India.
Whether you're engraving:
- Wood
- Acrylic
- Leather
- Glass
- Slate
- Metal
our team can help you select the right machine based on your application, production volume, and budget. We also provide guidance on machine setup, material selection, and engraving best practices to help you achieve consistent, high-quality results.
Frequently Asked Questions
What is the best photo format for laser engraving?
High-resolution PNG, TIFF, or JPEG files work well, provided they are at least 300 DPI. For the best results, use images with a resolution of 600 DPI or higher.
Should I convert my photo to black and white?
Yes. Converting the image to grayscale is essential because laser engravers use brightness values rather than color information.
Which material gives the best photo engraving results?
Wood and slate are among the most popular materials because they produce excellent contrast and preserve fine image details.
Can I engrave photos on metal?
Yes. Laser engraving or marking on anodized aluminum and coated metals can create sharp, durable, high-contrast images.
How can I improve engraving quality?
Use a high-resolution photo, remove unnecessary backgrounds, increase contrast, sharpen the image slightly, and perform a test engraving before the final job.
Conclusion
Preparing the right photo for laser engraving is just as important as choosing the right laser machine. A high-resolution image, proper grayscale conversion, balanced contrast, and correct laser settings all work together to produce crisp, detailed engravings on wood, slate, leather, glass, and metal.
Whether you're creating personalized gifts, custom products, or commercial engravings, following these best practices will help you achieve professional results consistently.
If you're looking for reliable laser engraving machines, accessories, and expert guidance in India, Mechblock offers a wide selection of solutions to help makers and businesses bring their creative ideas to life.